Deploying a Rails app with NGINX and Docker to AWS
22 Feb 2021 - Erich N. Quintero
This article will cover how to deploy a docker instance of a Ruby on Rails application to AWS. We will setup an NGINX server to proxy requests and provide support for HTTPS.
AWS provides a generous free tier service that should cover the costs for all the steps described in this post. The sign up process is very simple, you should be ready in no time.
Setting up an EC2 instance
Go to the AWS Management Console and sign in using your account credentials. Click on the EC2 service.
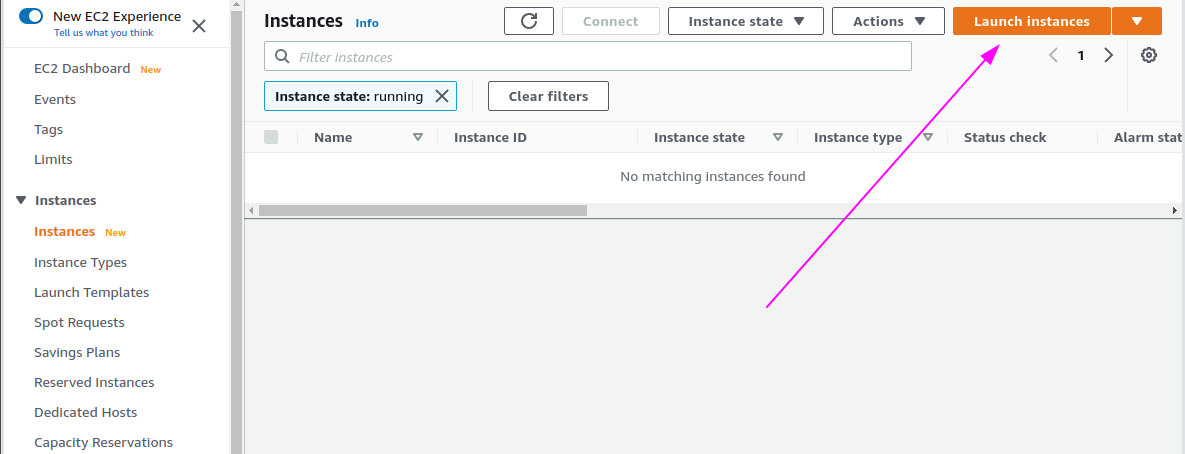
From the EC2 Dashboard, select Instances, then find the Launch Instances
button:
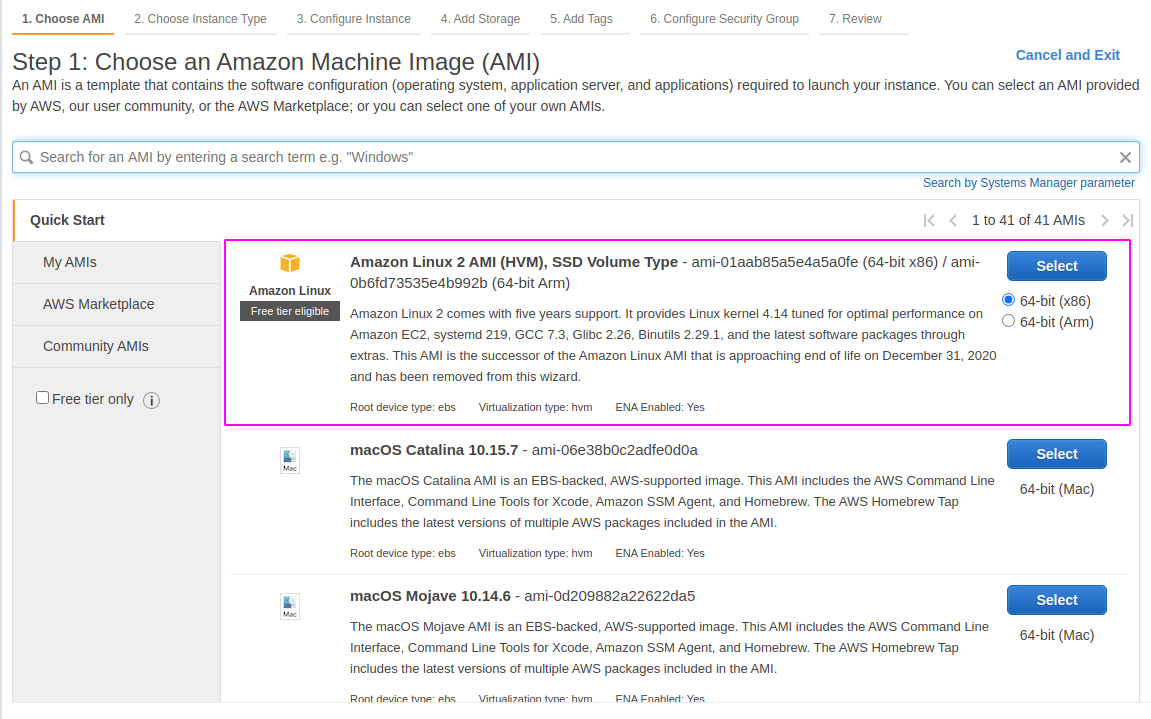
We are going to select Amazon Linux 2 AMI (HVM), SSD Volume Type as the
template for our instance. It is eligible for the free tier.
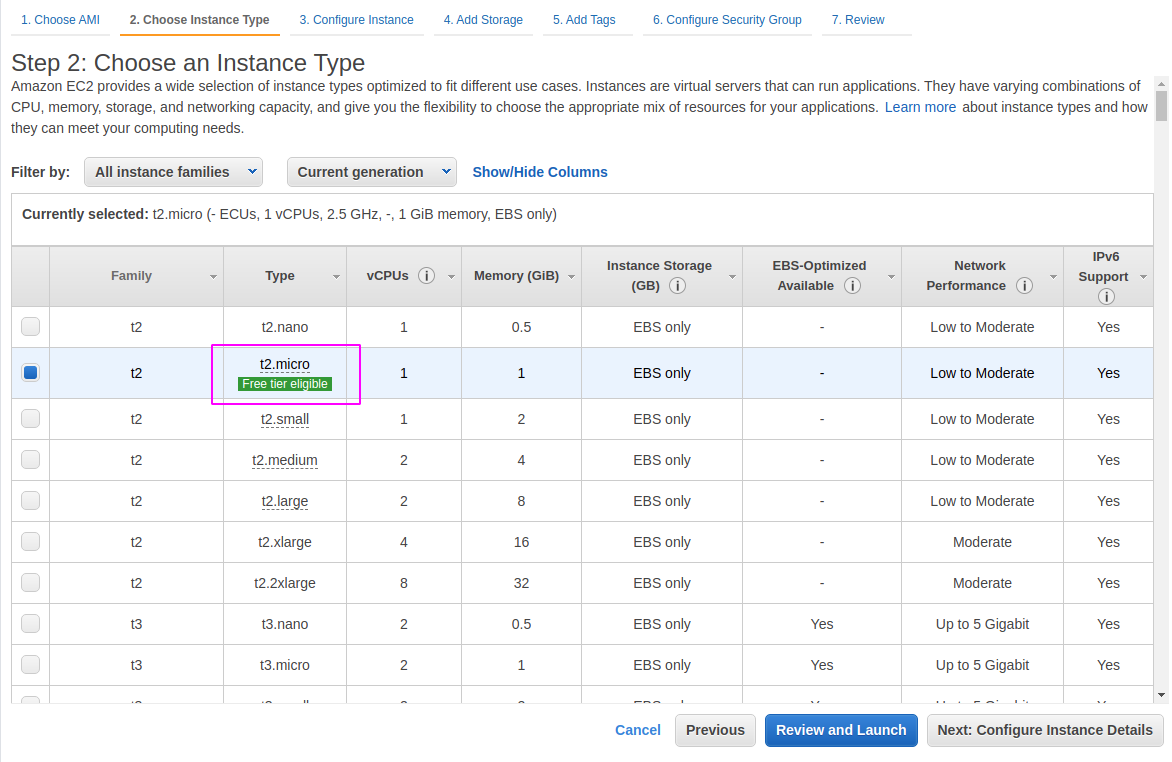
On step 2, we will choose t2.micro as the Instance Type. It is small and not
very powerful but will be enough for this exercise. It is also eligible for the
free tier.
We are going to use default settings on some of these steps. If you are not in a hurry, take some time to read what the defaults are and get familiar with the interface.
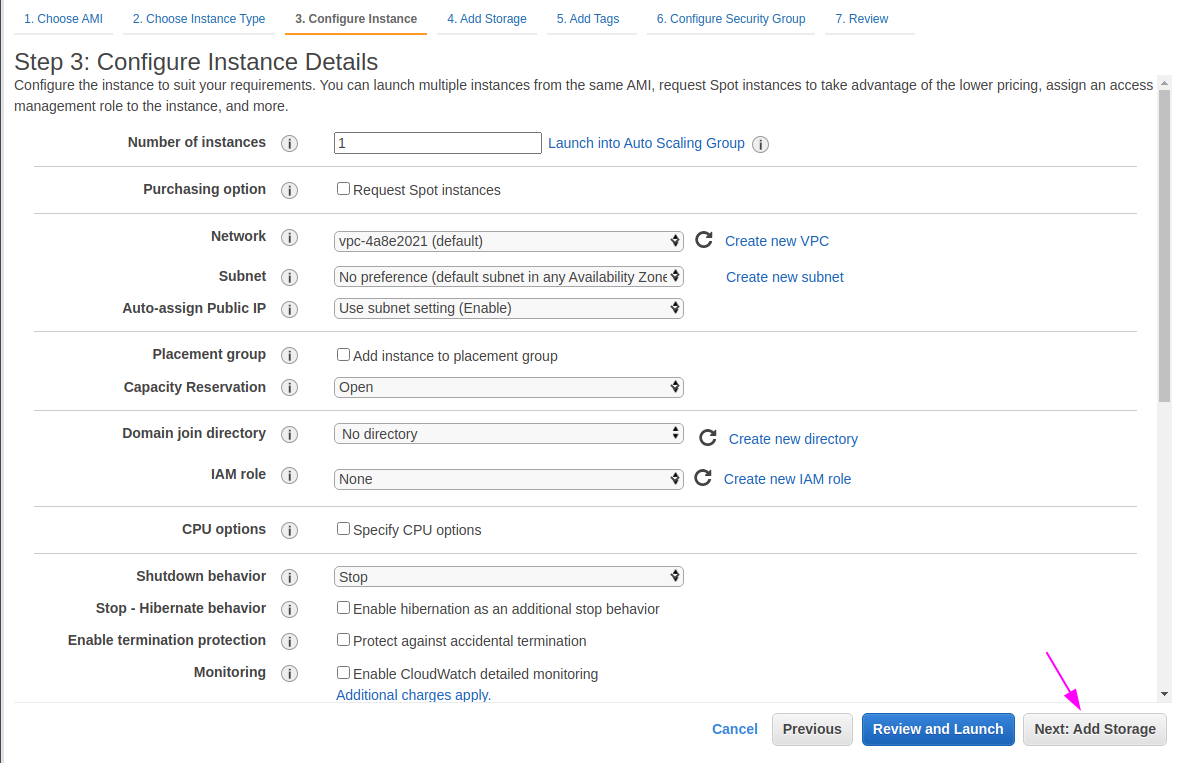
Step 3 is Configure Instance Details. Let’s accept defaults in this step.
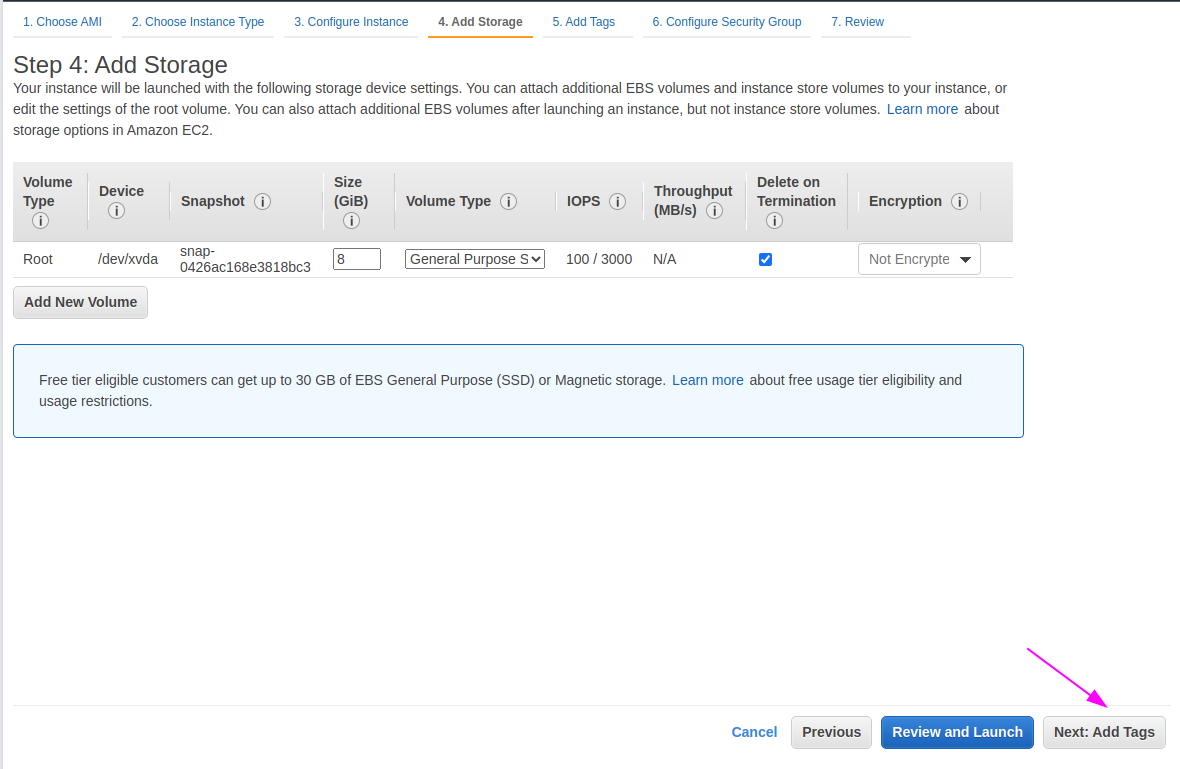
Next step is Add Storage. Accept defaults as well.
Step 5: Add Tags, we will add a tag to identify our application. Use name for
the key and rails-app for the value. Click on Next: Configure Security Group.

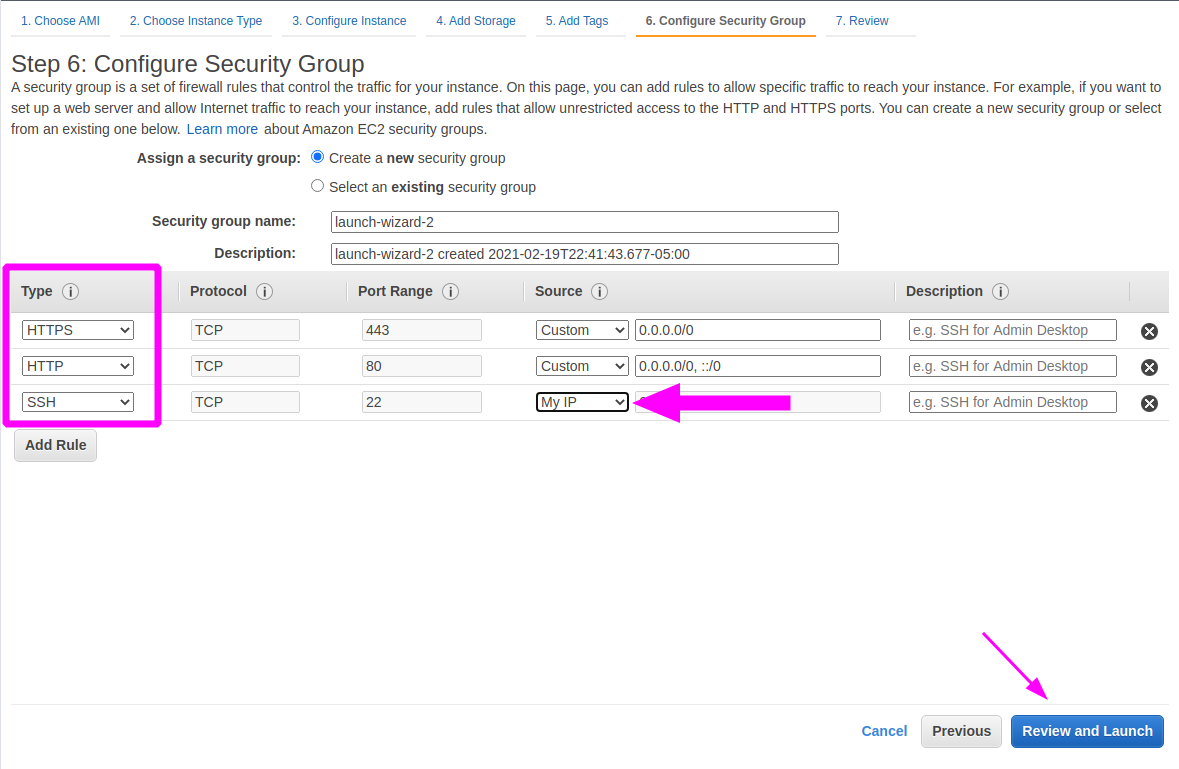
Step 6: Configure Security Group, we will expose ports 80 and 443 for HTTP and HTTPS traffic from anywhere in the internet. We will also need the SSH port open. I like to limit the SSH access to my IP only, but you can decide different as long as you understand the risks.
The last Step will be a Review, if everything looks good click on the Launch
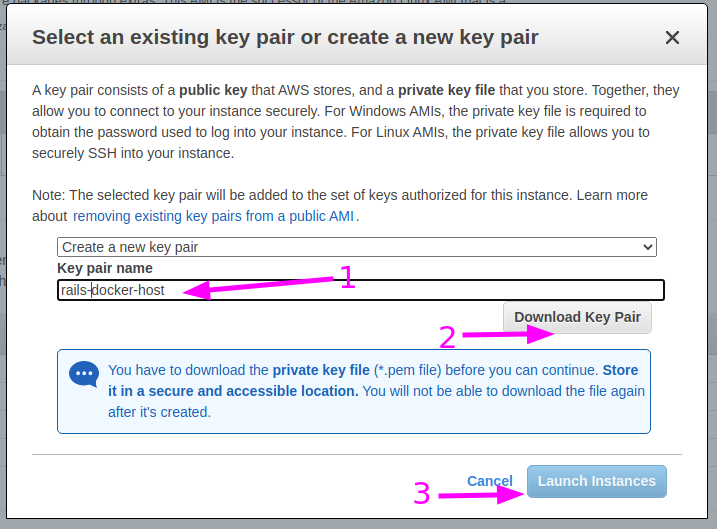
button. You will be prompted for a key pair to allow you to connect to this
instance. You can select an existing one or generate a new one. If this is your
first time here, your only option is to create one.
Download your newly generated key-pair and store it in a secure place. These are the keys to your instance and you won’t be able to download this again.
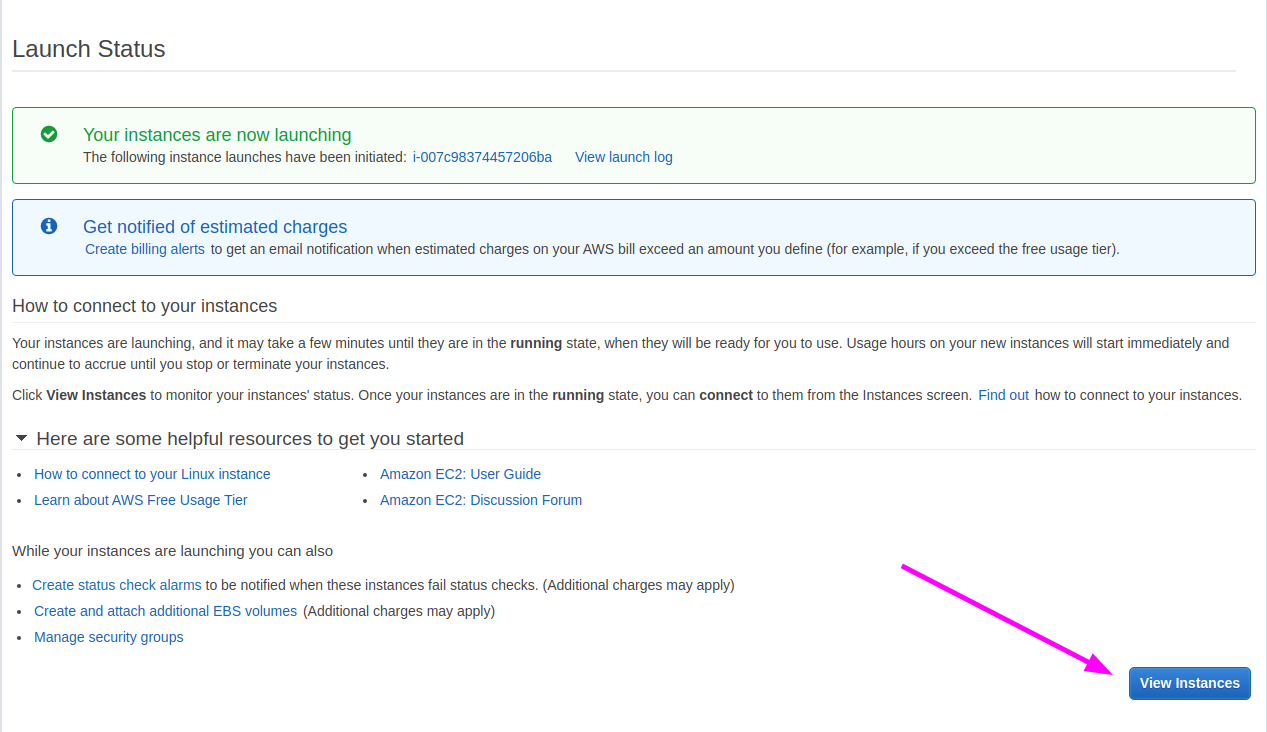
Click on the Launch Instances button. Voila! You have successfully setup
your instance and your are now looking at the Launch Status page, click on the
View Instances when you are done reading here.
Connect to the Instance
…wip